
Frosted Red Velvet Cupcake Cookies: A Delightful Treat for Any Occasion
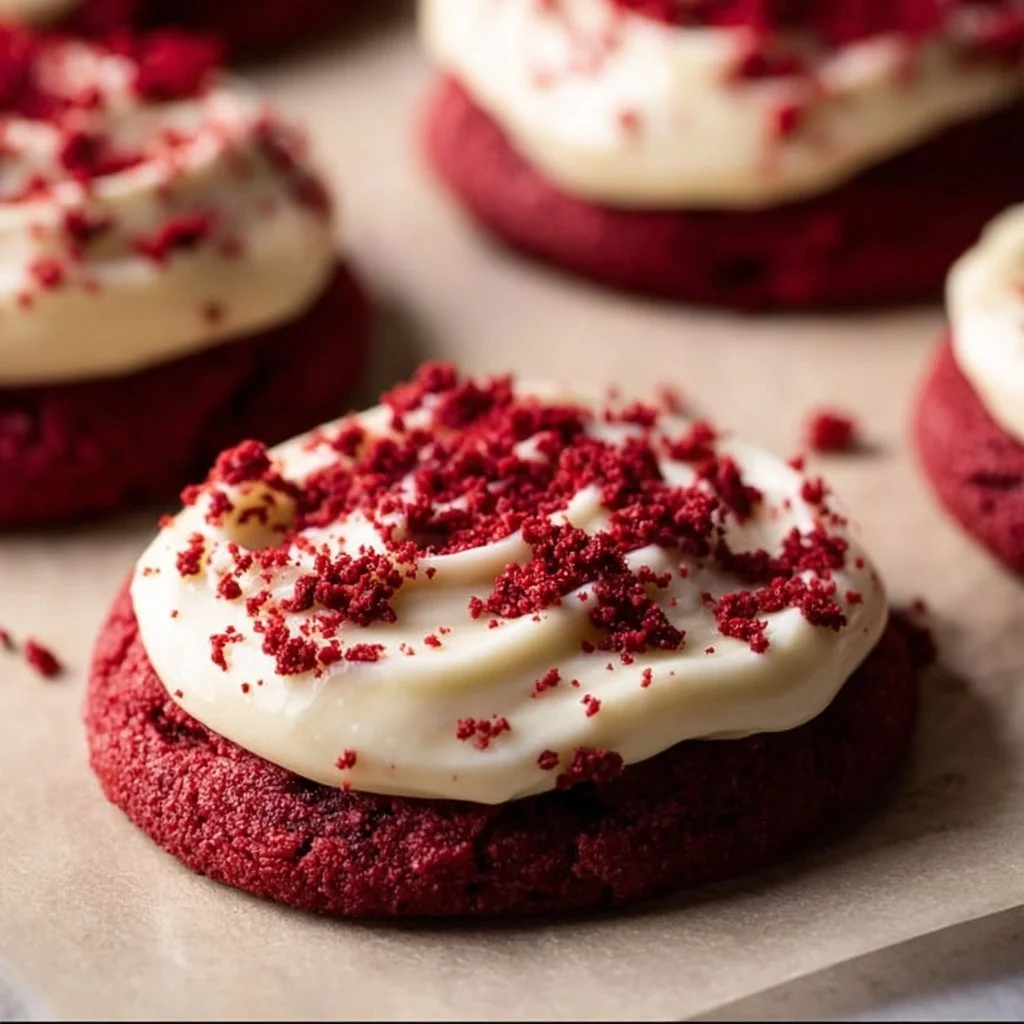
If you’re on the hunt for a dessert that combines the best of both worlds—cookies and cupcakes—look no further! Frosted Red Velvet Cupcake Cookies are the answer to your sweet cravings. Imagine biting into a soft, tender cookie that’s rich and cocoa-kissed, elevated by the luxuriously smooth cream cheese frosting. The vibrant red color adds an enticing visual appeal, making these treats not only delicious but also a feast for the eyes. Whether you’re hosting a cozy family gathering or simply indulging on a weeknight, these cookies offer an easy, fun, and satisfying baking experience. I invite you to roll up your sleeves and dive into this delightful recipe that your entire family will adore!
Understanding this Recipe
Frosted Red Velvet Cupcake Cookies derive their charm from the classic red velvet cake, which traces its origins back to the 1800s when the distinct red hue was derived from cocoa powder and buttermilk. This vibrant dessert has a gentle cocoa flavor that pairs irresistibly with a tangy cream cheese frosting, creating a nostalgic and delightful experience for your palate. The cookie form allows for a chewier texture that perfectly complements the smooth, sweet frosting, giving you that ultimate cookie-cupcake hybrid treat. Traditionally enjoyed during special occasions like Valentine’s Day or Christmas, these cookies can brighten any gathering or festive table.
The beauty of these Frosted Red Velvet Cupcake Cookies doesn’t just stop at flavor. Baking them not only fills your kitchen with a heavenly aroma of vanilla and cocoa but also provides a fun activity for the whole family. You can easily make these cookies in one bowl, which saves time on washing dishes—a win in any busy household. Plus, they are quick to whip together, making them an ideal sweet for weeknights or surprise guests!
Why You’ll Love This Recipe
These cookies have so much going for them that you may find yourself baking them on repeat! Here are a few reasons to love this recipe:
- Ease of Preparation: With straightforward ingredients and a simple method, these cookies can be mixed and baked in just under 30 minutes!
- Flavor Complexity: The combination of cocoa, butter, and cream cheese creates a flavor profile that dances on your taste buds, with the tanginess of the frosting perfectly balancing the sweetness.
- Family-Friendly or Kid-Approved: These cookies are visually stimulating, enticing kids to join in on the baking fun! What child can resist a bright red cookie topped with luscious frosting?
- Budget-Friendly: Most of the ingredients are pantry staples, making this recipe easy on your wallet while still delivering a premium dessert experience.
Let’s Cook Frosted Red Velvet Cupcake Cookies at Home!
To create these delightful cookies, you’ll need about 30 minutes of prep time, with an additional baking time of roughly 10 to 12 minutes. Gather your mixing bowls and spatula because this one-bowl recipe is as easy as it gets. You’ll whip up the dough and bake it within a single session, resulting in soft cookies that are perfect for frosting. You’ll need the following tools:
- Mixing bowl
- Hand mixer or whisk
- Measuring cups and spoons
- Baking sheet
- Parchment paper (optional)
Ingredients
- 2 cups all-purpose flour (for structure and chewiness)
- 1 tablespoon cocoa powder (adds subtle chocolate flavor)
- 1 teaspoon baking powder (helps cookies rise)
- ½ teaspoon baking soda (for chewiness)
- ½ teaspoon salt (enhances flavors)
- 1 cup unsalted butter, softened (provides moisture and richness)
- 1 cup granulated sugar (sweetens the cookies)
- 1 large egg (binds ingredients together)
- 1 tablespoon milk (adds moisture)
- 1 tablespoon red food coloring (for that signature red hue)
- 1 teaspoon vanilla extract (uplifts the flavor)
Directions
- Preheat the Oven: Preheat your oven to 350°F (175°C). This ensures that the cookies begin baking immediately upon entering the oven for uniform texture.
- Mix Dry Ingredients: In a mixing bowl, whisk together the flour, cocoa powder, baking powder, baking soda, and salt. This helps to evenly distribute the dry ingredients and prevents any lumps.
- Cream Butter and Sugar: In a separate bowl, cream the softened butter and granulated sugar together until fluffy and light in color, about 3-4 minutes. This incorporates air, which leads to a lighter cookie texture.
- Age in Egg and Colors: Add the egg, milk, red food coloring, and vanilla extract to the butter-sugar mixture. Mix until combined. The red food coloring adds the vibrant hue that these cookies are known for!
- Combine Wet and Dry Ingredients: Gradually add the dry mixture into the wet mixture, stirring until just combined. Be careful not to over-mix; a few lumps are perfectly fine!
- Scoop the Dough: Using a cookie scoop or tablespoon, drop the dough onto a lined baking sheet, spacing them about 2 inches apart. This allows room for spreading.
- Bake: Place the baking sheet in the preheated oven and bake for 10-12 minutes, until the edges are set but the centers are still soft. Let them cool on the sheet for a few minutes before transferring them to a wire rack to cool completely.
What to Serve With Frosted Red Velvet Cupcake Cookies
These flavorful cookies are versatile and can be served for various occasions. Pair them with a glass of cold milk to enhance the sweetness, or serve them at a festive gathering alongside a rich chocolate ganache tart for a chocolate lover’s dream. For a more sophisticated touch, consider serving with a light, fruity tea to cut through the richness. And of course, they make a delightful addition to any dessert platter at birthday parties or holiday celebrations.
Top Tips for Perfecting Frosted Red Velvet Cupcake Cookies
Getting these cookies just right is all about technique. Here are some tips that will take your baking to the next level:
- Ingredient Swaps: Try using brown sugar instead of granulated sugar for a deeper flavor profile. The molasses in brown sugar will enhance the richness.
- Spice Adjustments: For added warmth and complexity, a pinch of cinnamon or nutmeg can create an interesting flavor twist.
- Equipment Advice: If you have a cookie scoop, use it! This ensures uniform cookie sizes for even baking.
- Storage Tips: Store these cookies in an airtight container at room temperature. They can last for up to a week.
- Mistakes to Avoid: Avoid over-mixing the dough once the flour is added to retain a tender texture. Also, watch the baking time to prevent them from becoming dry.
Variations & Add-Ins
If you’re feeling adventurous, here are a few ideas to customize your Frosted Red Velvet Cupcake Cookies:
- Chocolate Chips: Add semi-sweet or white chocolate chips for an extra sweetness burst in each bite.
- Nuts: Chopped pecans or walnuts can add a delightful crunch and nutty flavor.
- Gluten-Free: Substitute the all-purpose flour with a 1:1 gluten-free flour blend for a gluten-free version.
- Cream Cheese Swirls: Add a dollop of cream cheese to the cookie dough for a creamier texture.
Kid-Friendly Version
To make these cookies more appealing to kids, consider reducing the amount of food coloring for a pastel red color. You can also use cookie cutters to create fun shapes—heart shapes are great for special occasions! Get the kids involved in decorating by letting them drizzle the frosting and add sprinkles on top.
Storing and Reheating Tips
When it comes to storing Frosted Red Velvet Cupcake Cookies, keeping them fresh is a breeze. Simply place them in an airtight container at room temperature, where they’ll stay delicious for up to a week. To keep your cookies from drying out, you can add a slice of bread to the container; the moisture will keep the cookies soft. If you need to store them for a longer duration, consider refrigerating them, where they can last for up to two weeks. Just ensure that they are in a well-sealed container to prevent them from absorbing any unwanted odors.
When it comes to reheating these delightful cookies, the oven is your best bet for retaining their texture. Preheat your oven to 350°F (175°C), and place the cookies on a baking sheet lined with parchment. Heat them for about 5 minutes or until they’re warm without losing their chewiness. Alternatively, you can pop them into the microwave for about 10-15 seconds, though be cautious not to overdo it, as they can become tough. If you’ve frozen any cookies, allow them to thaw at room temperature or reheat straight from the freezer using the oven method for the best results.
FAQs
Q: Can I prepare the dough ahead of time?
Absolutely! The dough can be made ahead of time and stored in the refrigerator for up to 3 days. Just let it come to room temperature before baking to ensure even cooking.
Q: What can I substitute for the cream cheese in the frosting?
You can use mascarpone cheese or Greek yogurt as a lower-fat alternative. While the taste will vary slightly, both options deliver a creamy texture.
Q: Can I freeze these cookies?
Yes, these cookies freeze well! To freeze, place them in a single layer on a baking sheet until solid, then transfer them to a freezer-safe bag. They can last up to three months in the freezer.
Q: How do I make them less sweet?
To reduce sweetness, you can cut back on the sugar in the cookie base. Additionally, consider omitting the frosting altogether or using a tangier frosting, like a lemon buttercream.
Q: What’s a good way to decorate these cookies?
Besides the traditional cream cheese frosting, consider adding chopped nuts, shredded coconut, or even a dusting of cocoa powder for a quick decorative touch!
Conclusion
Frosted Red Velvet Cupcake Cookies are not just a treat; they’re an experience filled with warmth, nostalgia, and joy. The combination of soft, chewy cookies topped with smooth, creamy frosting delights everyone from kids to adults. With their vibrant color and delectable flavor, these cookies will surely become a beloved addition to your recipe collection. So, roll up your sleeves, gather your ingredients, and try making them tonight! I’d love to hear how they turned out for you!
PrintFrosted Red Velvet Cupcake Cookies

Delightful cookies that combine the richness of chocolate and cream cheese frosting, perfect for any occasion.
- Prep Time: 30 minutes
- Cook Time: 12 minutes
- Total Time: 42 minutes
- Yield: 24 cookies 1x
- Category: Dessert
- Method: Baking
- Cuisine: American
- Diet: Vegetarian
Ingredients
- 2 cups all-purpose flour
- 1 tablespoon cocoa powder
- 1 teaspoon baking powder
- ½ teaspoon baking soda
- ½ teaspoon salt
- 1 cup unsalted butter, softened
- 1 cup granulated sugar
- 1 large egg
- 1 tablespoon milk
- 1 tablespoon red food coloring
- 1 teaspoon vanilla extract
Instructions
- Preheat your oven to 350°F (175°C).
- In a mixing bowl, whisk together the flour, cocoa powder, baking powder, baking soda, and salt.
- Cream the softened butter and granulated sugar together until fluffy and light in color, about 3-4 minutes.
- Add the egg, milk, red food coloring, and vanilla extract to the butter-sugar mixture and mix until combined.
- Gradually add the dry mixture into the wet mixture, stirring until just combined.
- Using a cookie scoop or tablespoon, drop the dough onto a lined baking sheet, spacing them about 2 inches apart.
- Bake for 10-12 minutes, until the edges are set but the centers are still soft. Let them cool on the sheet for a few minutes before transferring to a wire rack to cool completely.
Notes
Store in an airtight container at room temperature for up to a week. Can freeze for up to three months.
Nutrition
- Serving Size: 1 cookie
- Calories: 200
- Sugar: 9g
- Sodium: 200mg
- Fat: 10g
- Saturated Fat: 6g
- Unsaturated Fat: 3g
- Trans Fat: 0g
- Carbohydrates: 25g
- Fiber: 1g
- Protein: 2g
- Cholesterol: 30mg
Keywords: cookies, cupcakes, dessert, red velvet, baking, cream cheese frosting